
Step 4 – Pump Test and Sensor Calibration
The list of parts you will need to set up your system include:
- Water Pump
- Hose – 2 pieces, about 4 ft long
- 5-gallon bucket
- Container with volume markings (e.g. -Liter beaker, 32 oz water bottle, or large 1-quart measuring cup) ; Digital Scale (optional)
- Kit Datalogger board
- Power supply, 5V wall wart
- Stopwatch (use your phone)
- Fill your 5-gallon bucket with water (typically about 3/4 full). You can use another smaller bucket to get water and pour it into your bucket using multiple trips, or take the 5-gallon bucket to the water source and fill it about 3/4 full. It’s a good idea to cover the top of the bucket to reduce evaporation and prevent debris from getting into the water.
2. Plug in your power supply (5V wall wart) and connect the power connector (barrel jack) to the datalogger board – the startup screen on the datalogger should appear.
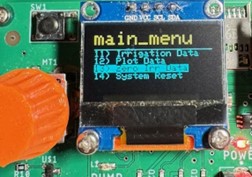
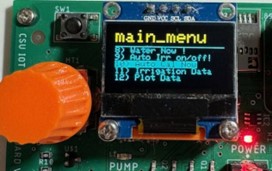
Press the orange button to get the main menu. When starting a new experiment, it’s best to zero any old data that might be in the datalogger’s memory.
- Go to menu option 13 “Zero Irr Data” and set the flag to 1. This will erase all old data.
3. Go to menu option 7, “Set Irr Duration”, and set this to 60 seconds.
- Then go to menu option 8, “Water Now”, and set the flag to “1”. After pressing the orange button, the water pump should turn on and pump for 60 seconds.
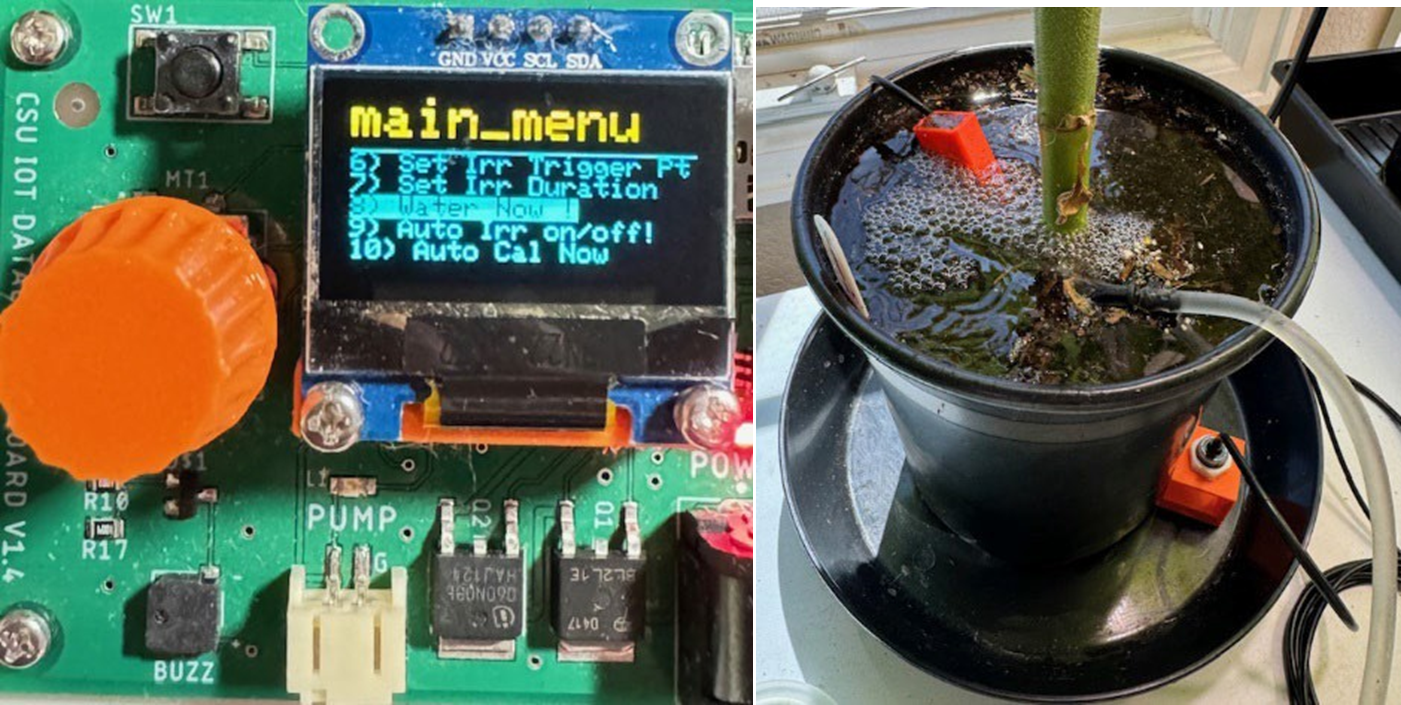
- Check your system for leaks and make sure the water from the emitter is spraying downward into the pot. Also, make sure infiltration into your soil is sufficient so that 60 seconds of watering will not overflow the lip of the container.
- If you do get overflow, reduce the irrigation duration. You can repeat the “Water Now’ option anytime you want to add water to your plant or test the pump.
- If you have an unplanned water leak that is making a mess, pull the power connector (barrel connector) out of the board to turn it off immediately.
4. Calibrate the soil sensor using the auto-calibrate feature. Make sure the soil in your pot is completely saturated with water. You may want to add with a watering can if needed, then give it a few minutes to drain.
- Once your soil is at field capacity, go to option 10, “Auto Cal Now” and set the flag to “1”. It will calibrate the sensor automatically.
- If you go to option 2 you should see your sensor reading %100 field capacity.
- You will also notice that the sensor calibration factors (menu options 4 and 5) have been adjusted. If your sensor ever gets accidentally pulled out of the pot or disturbed, repeat this step to re-calibrate.