
Step 3 – Build It: Position and connect the datalogger, water pump, and sensors.
We are now going to build the auto-watering system. [Warning: Do not connect 5V power to your datalogger board yet; we will do this later]
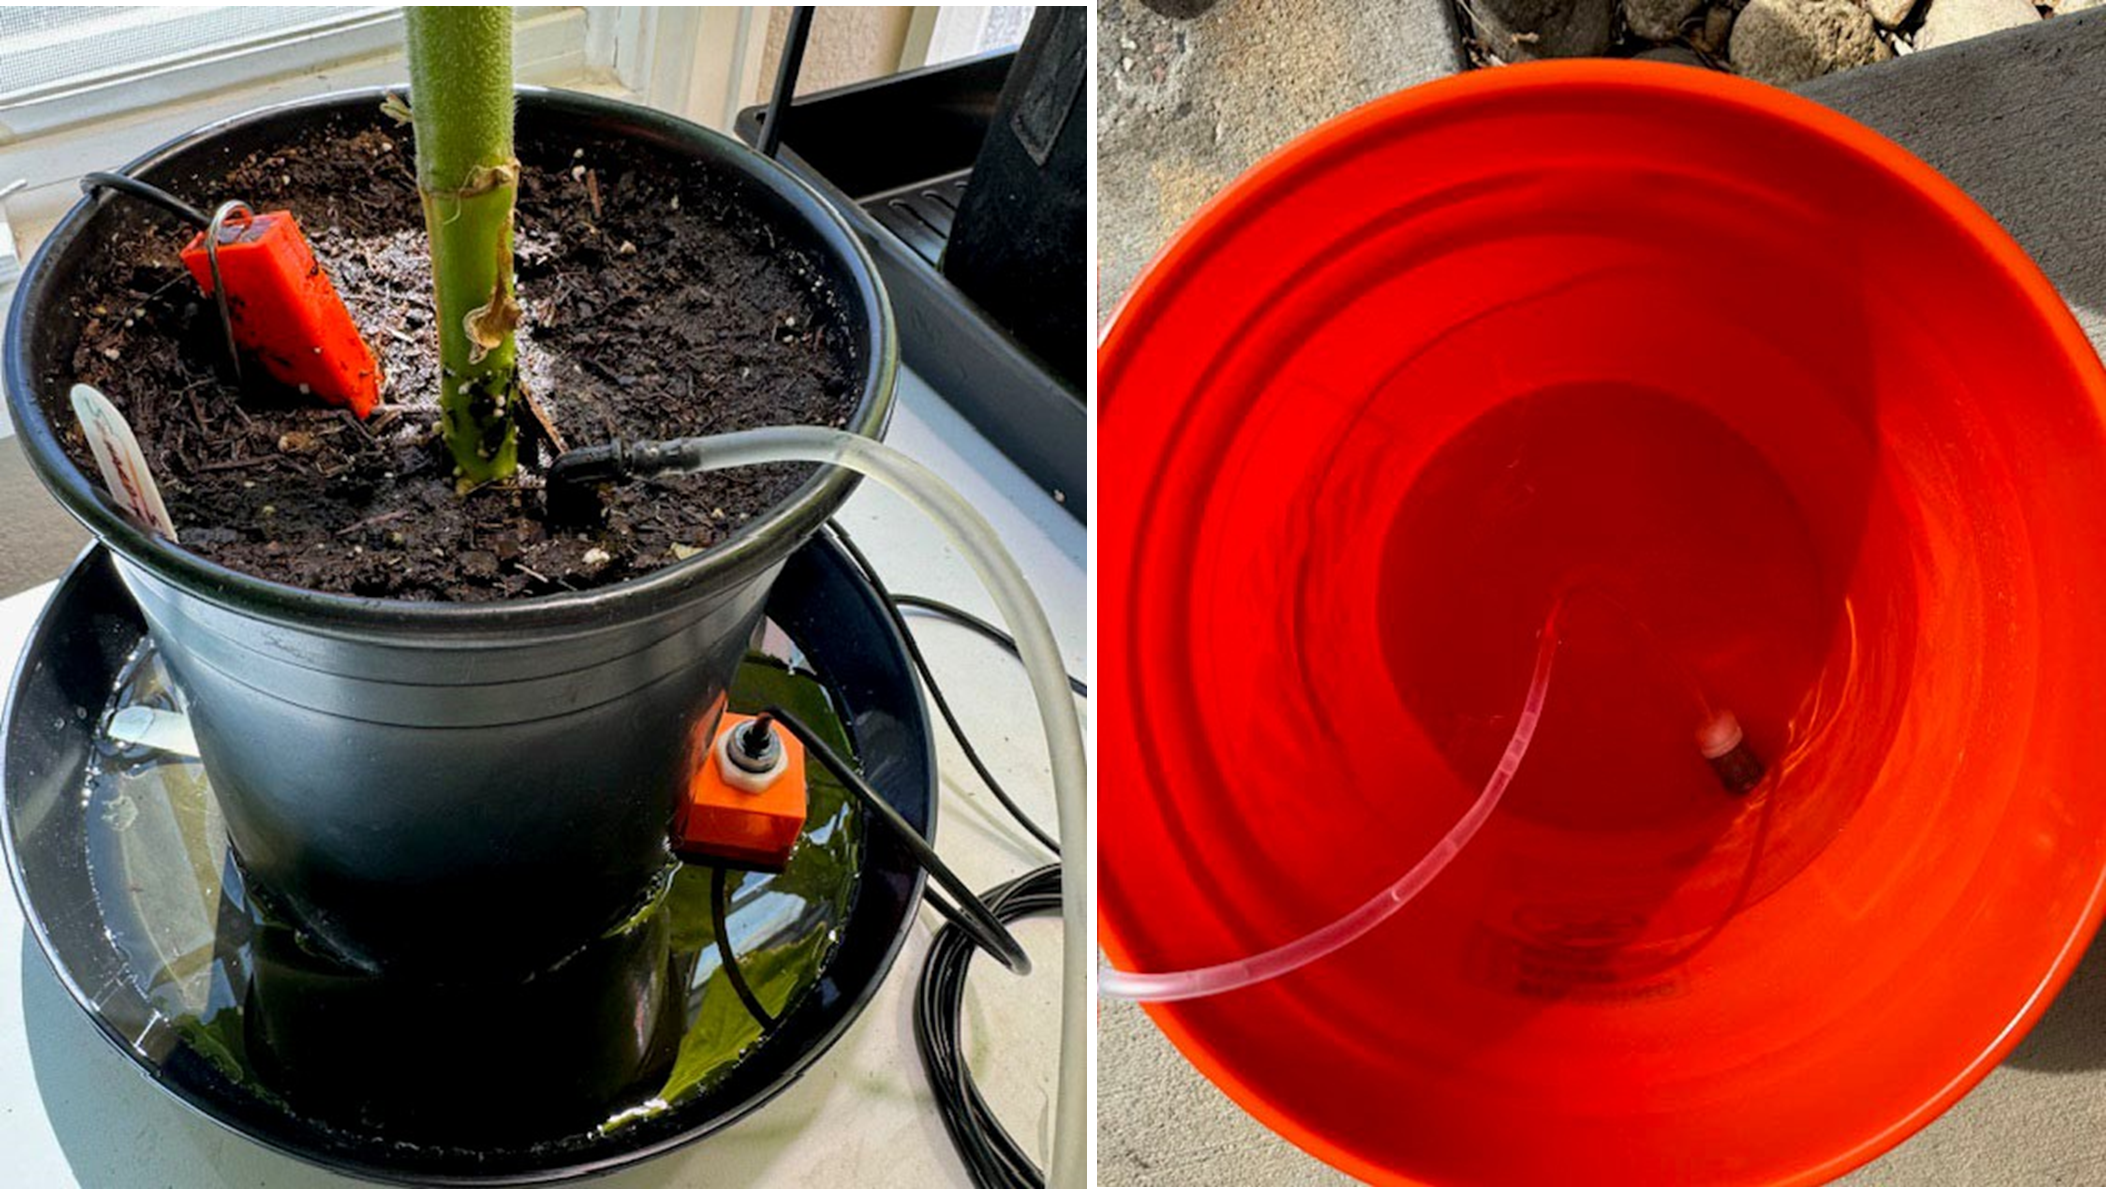
- Position your plant and saucer in your chosen spot. Place the datalogger and water pump within 1 to 2 ft from the plant and position the 5-gallon bucket so the inlet tubing for the pump can reach the bottom of the bucket. If using a table, it’s best to put the bucket under the table.
2. Connect the cable from the water pump’s motor to the datalogger board. If using the spring-loaded connectors, ensure the red wire goes into the positive side of the connector (marked with a +). See this tutorial if you have the spring-loaded connectors used on the red circuit boards. If your pump has the white JST connector, it can only go on one way.
3. Connect the water level sensor to the datalogger on the connector marked ‘Digital Sensor’ and the ’12VG’. Position the water sensor in the drainage saucer or tray by sliding the ‘foot’ of the sensor mount under your potted plant. Remember, the purpose of this sensor is to detect if there is standing water in the tray/saucer so it won’t irrigate too much and overflow.
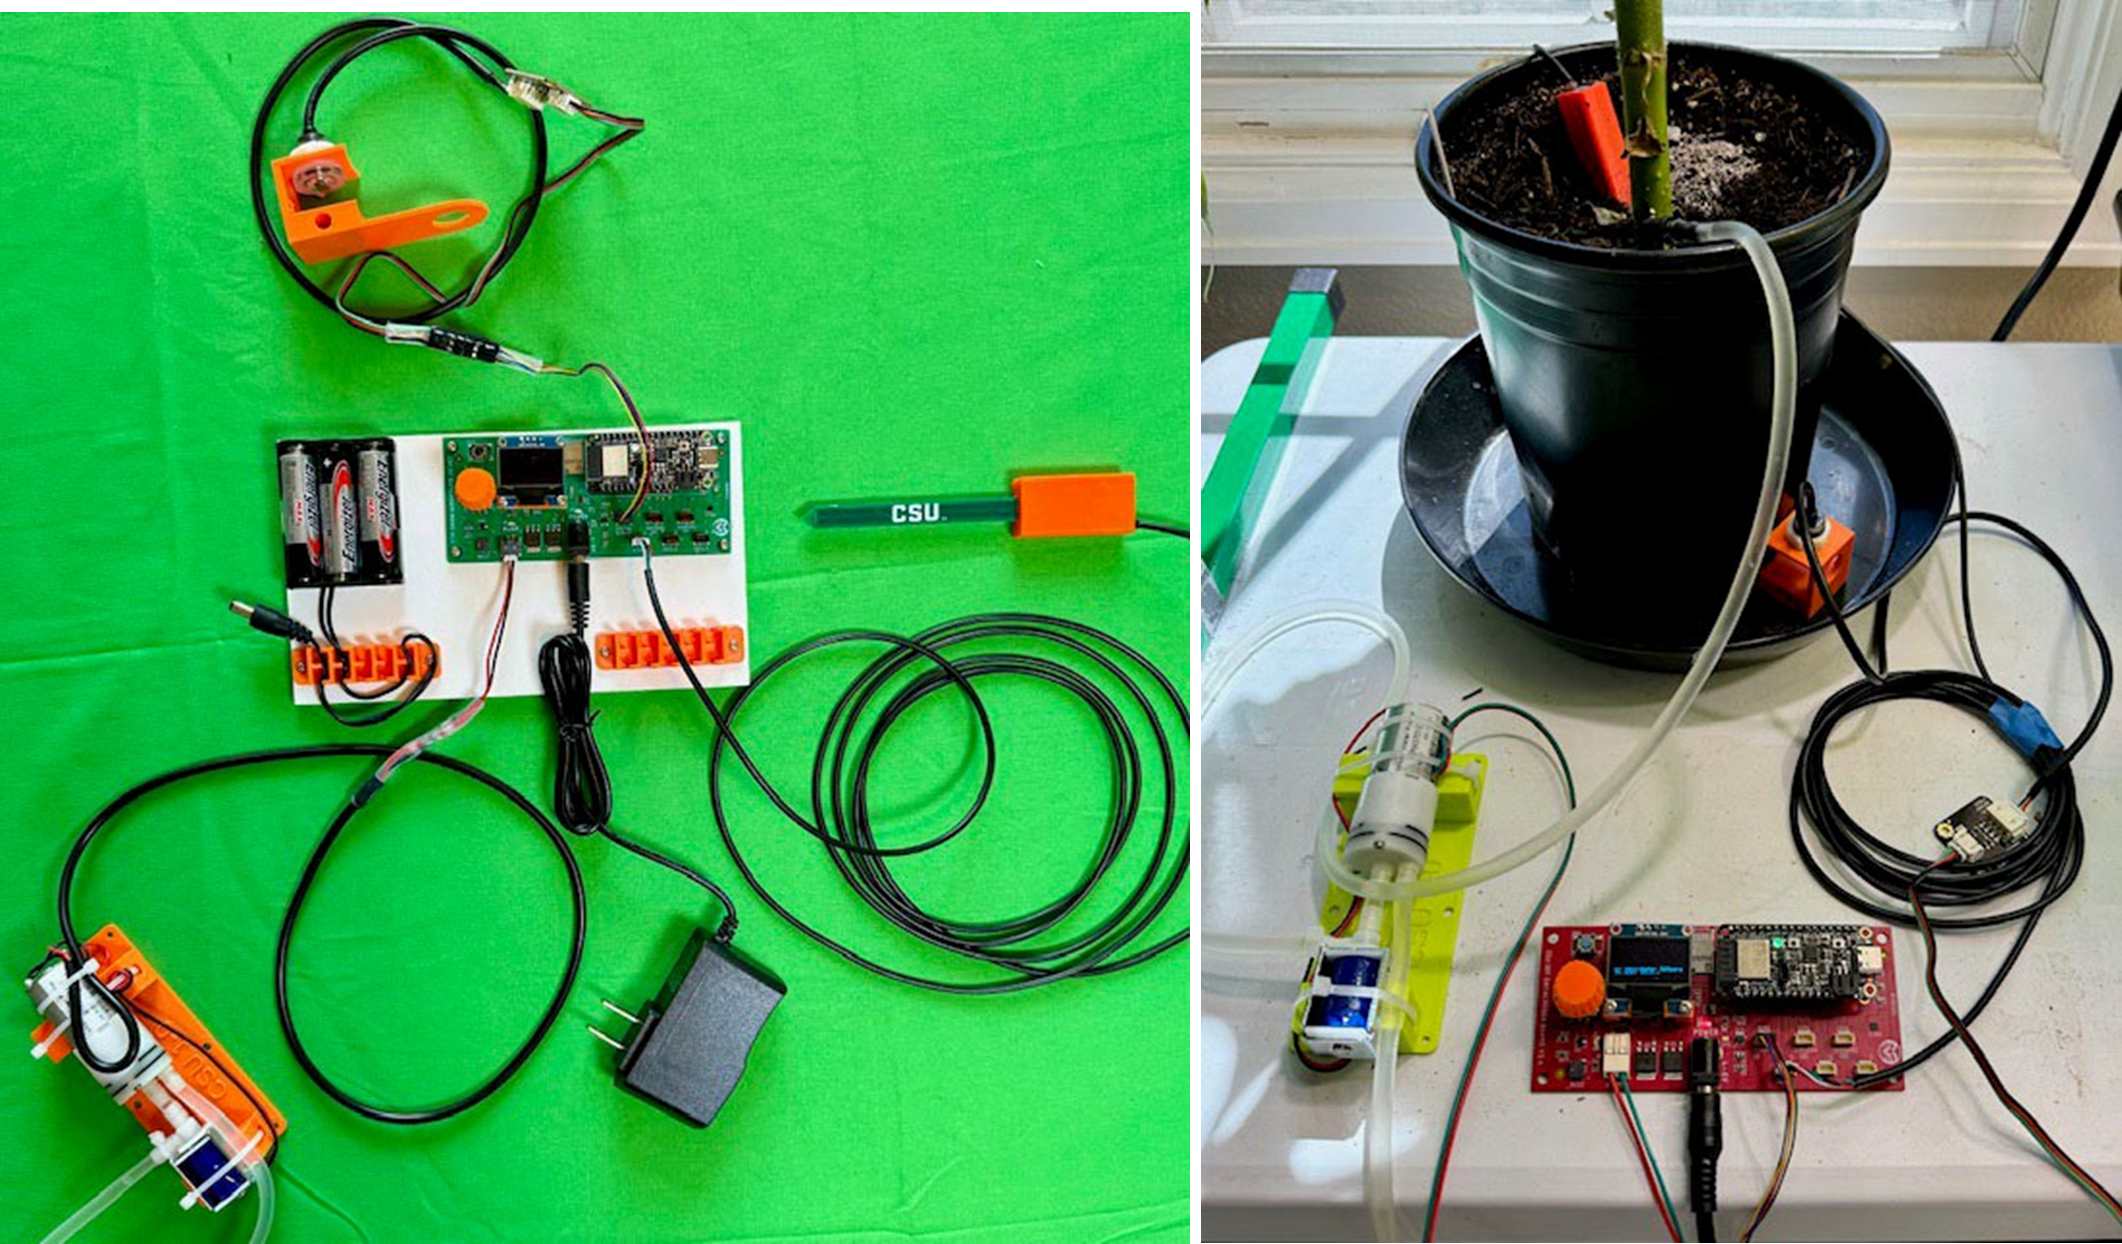
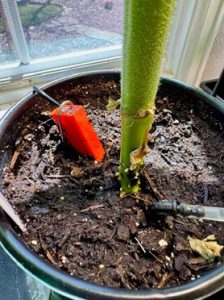
4. Connect the soil moisture sensor to the datalogger board using connector ‘SOIL1’. Install the soil sensor into the potted plant at a slight downward angle – you want the narrow edge of the green probe pointing up and down.
It’s often good to remove a small amount of soil where the sensor is going to be installed so the orange head of the sensors can fit snuggly against the surface. Press the sensor firmly into the soil. Now, use a small landscape stake (supplied) to pin the sensor against the soil to keep it from moving. “Water In” your soil sensor using a cup of water or a watering can. We want to make sure we have good soil – probe contact. Installing the soil sensor is one of the most important aspects of the setup.
5. Install the water emitter stake in the plant. Typically, the emitter is placed on the opposite side of the stem from the soil moisture sensor.